Preparing Your Photos for Printing
Preparing your photos for printing is an important step, especially if you want to achieve results that you are happy with when viewing your prints. It does take just a little bit of extra time, but trust us it’s worth it (and they will look great on social media too!).
**Just a note do not edit professional photographers photos, they have already been edited and prepared for printing**
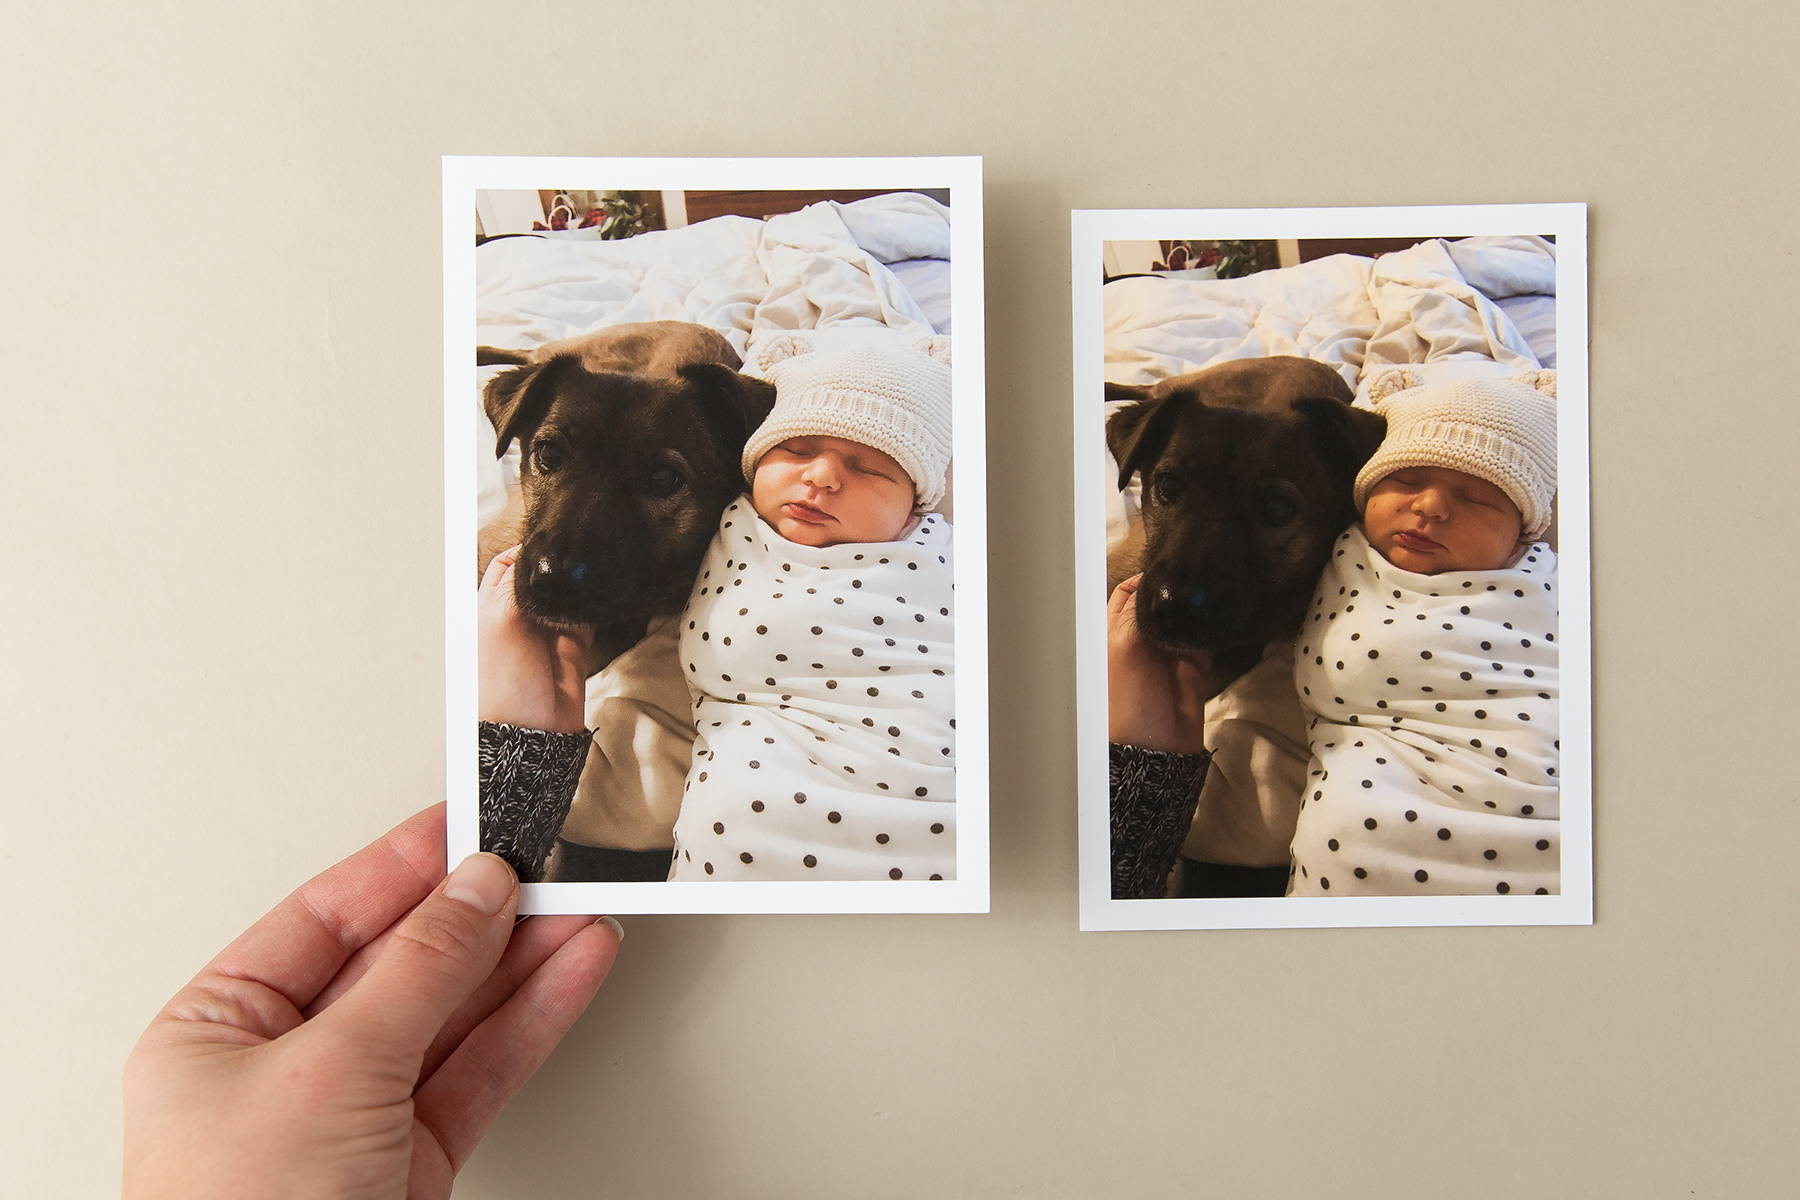
As you can see in the example photo above the original unedited print on the right looks underexposed and it’s hard to see details in the shadows. Making a few adjustments before printing helps create a more polished image that looks better printed.
STEP 1: ADJUST YOUR SCREEN BRIGHTNESS
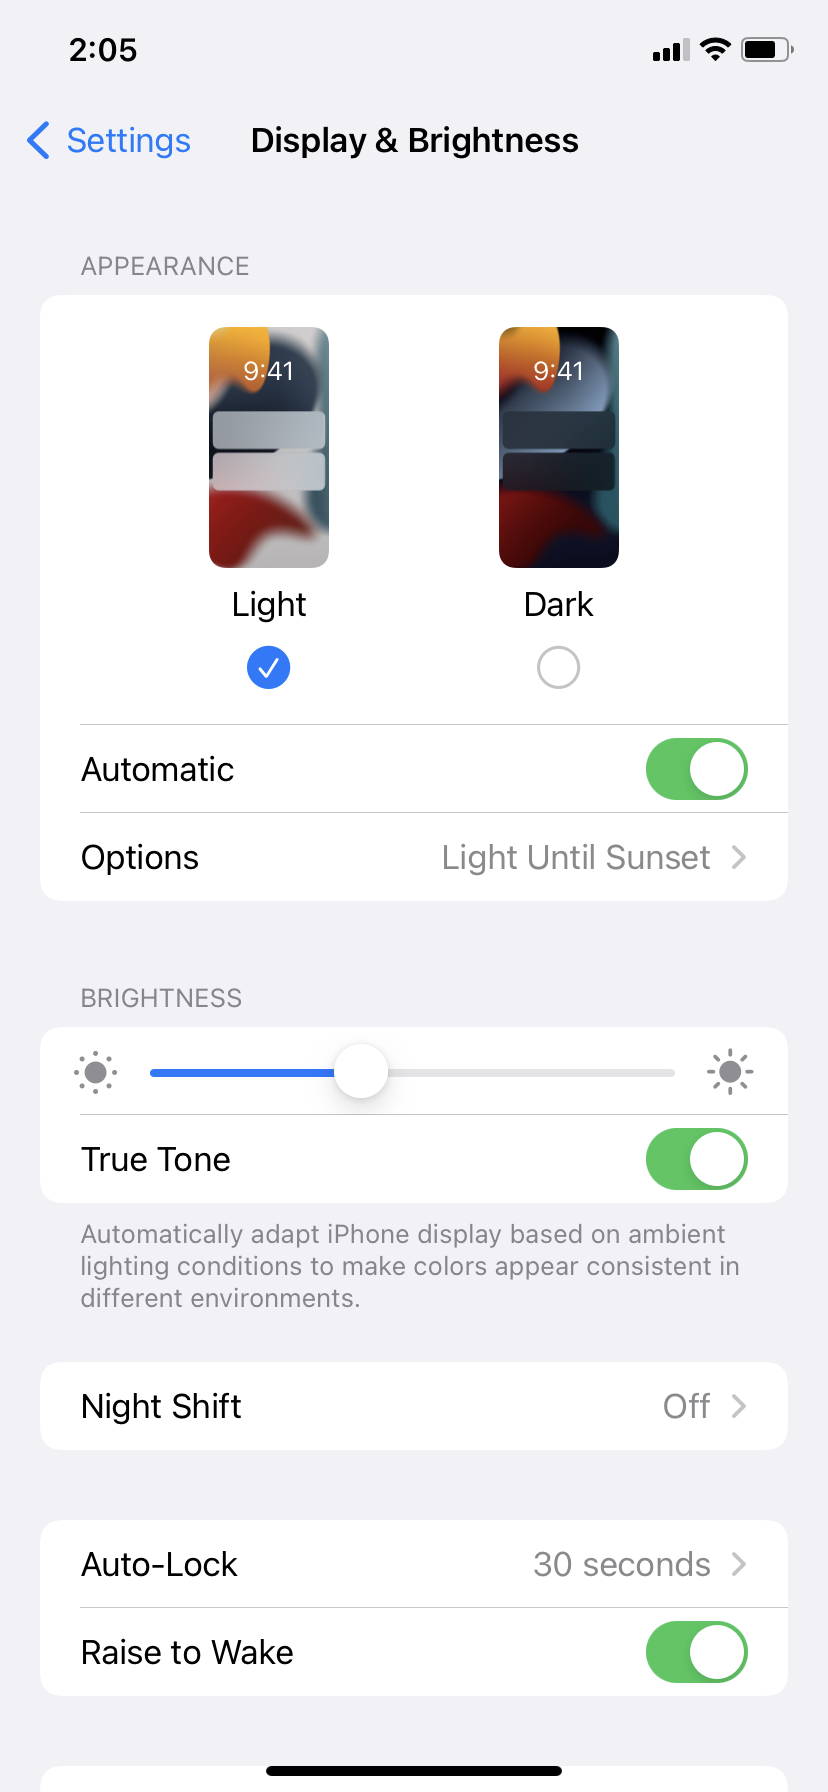
The number one thing to remember with printing is that prints reflect light whereas phone screens emit light. So although colours can be accurate there will be a slight difference (usually seen in the print appearing slightly darker than your screen). Start by adjusting your screen brightness to less than 50%. As a professional photographer I personally edit my photos around 30% brightness on my monitor, I find this achieves the most accurate results. This will be a better representation of what your photos will look like printed. As mentioned earlier prints reflect light so if your screen is turned up to a high brightness level your prints will come back looking darker than your phone screen.
STEP 2: EDITING
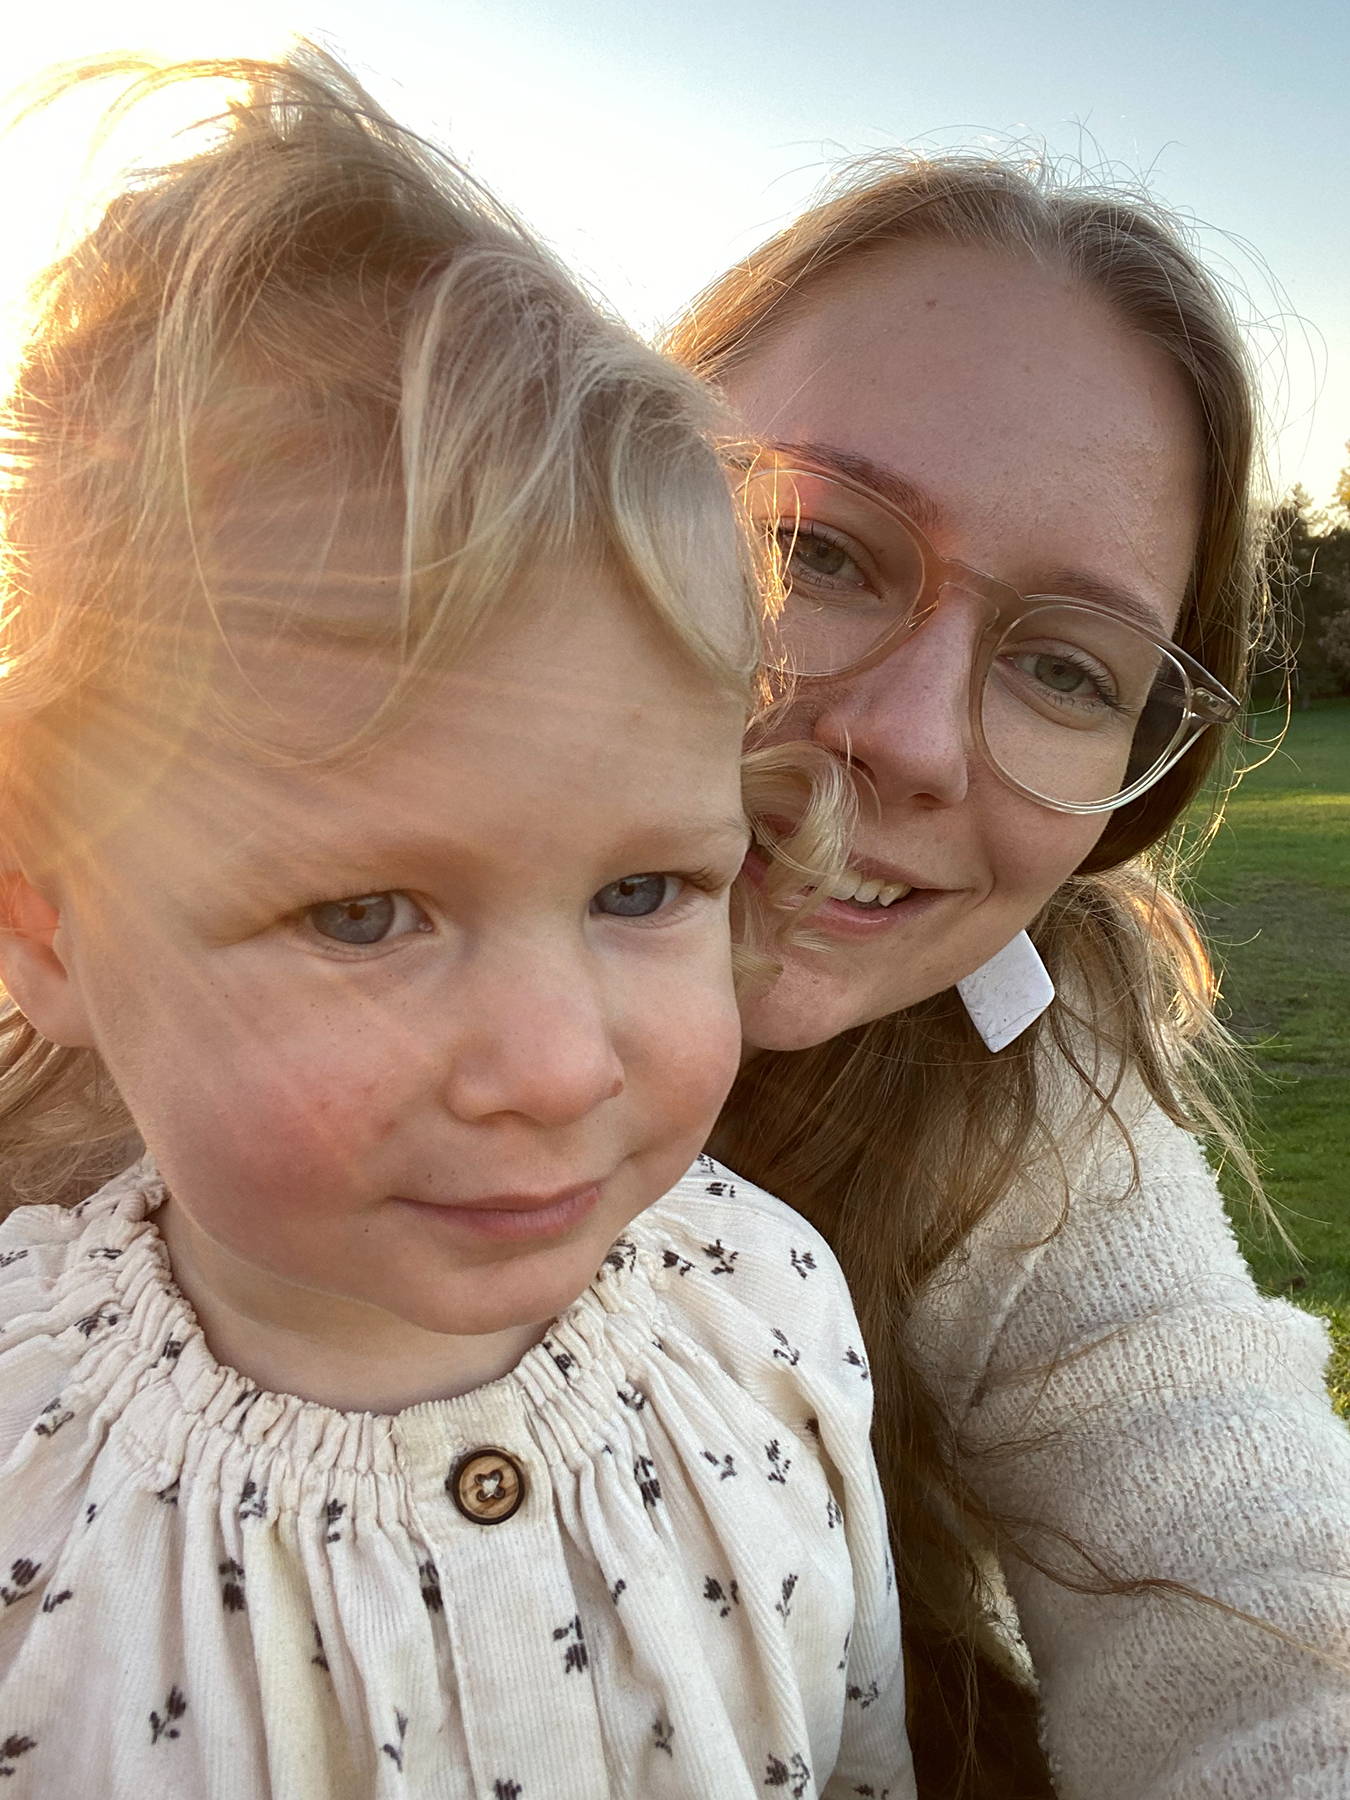
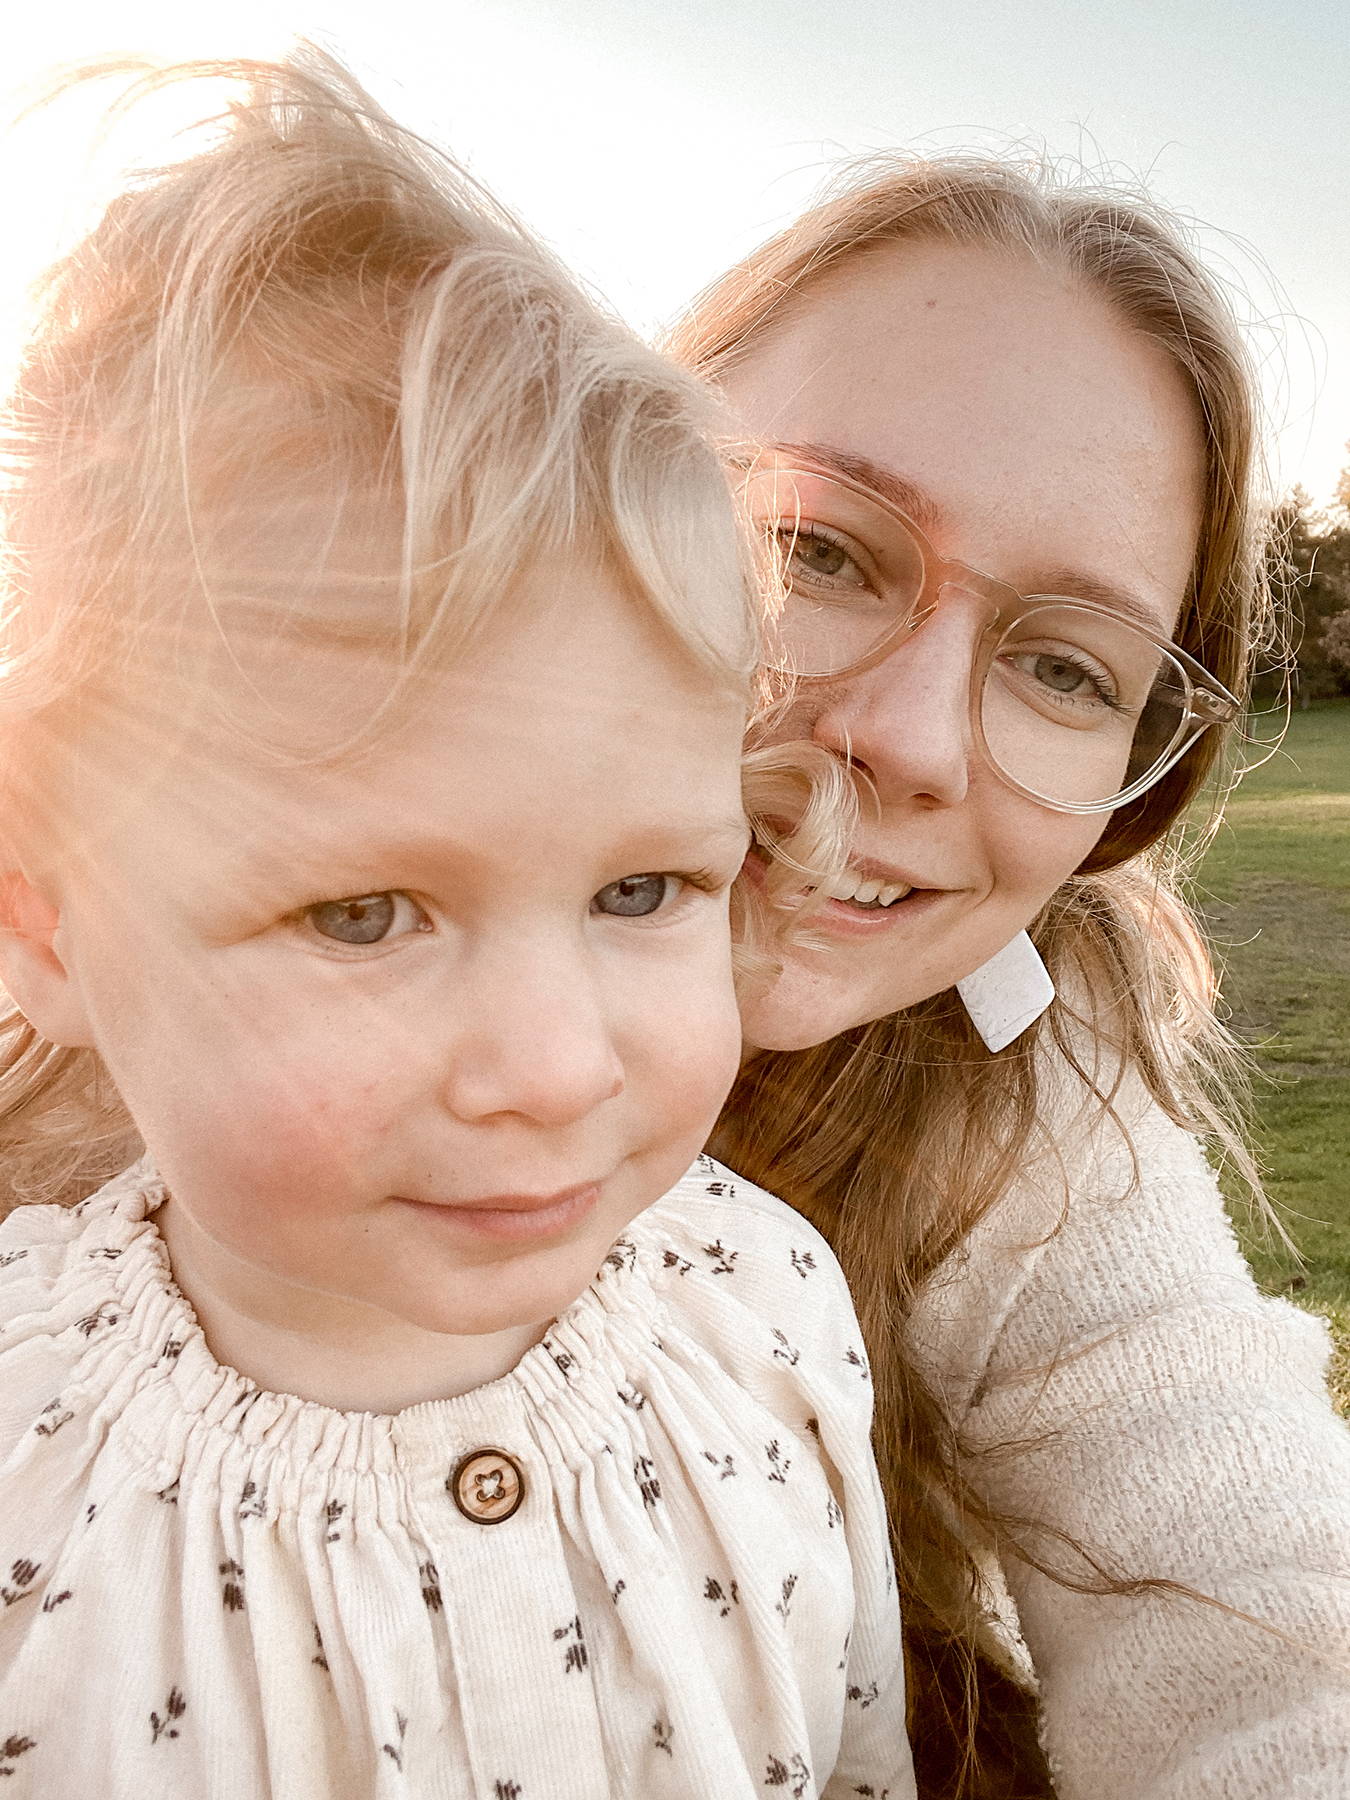
The easiest way to make your phone photos print their best is brightening the exposure slightly and adding a bit of contrast. You can do this on most photo viewing applications. This is especially important for skin tones, if skin tones are dark or shadowed they can come out looking muddy on a print.
To take your editing skills a step further, we love using the Adobe Lightroom App to edit our phone photos. There are so many beautiful presets you can purchase that will allow you to achieve your preferred editing style in a single click. We also have some FREE Lightroom presets you can try out below!
Using presets is one of the easiest ways to edit your photos and can allow you to achieve more consistency across your images. Depending on the light your photo was taken in means you may need to do a few further tweaks to get them just right. The most common things you’ll need to adjust is the exposure (if an image is shot indoors or in the evening you may need to up the exposure slider), if it was taken in really harsh/hard light (i.e. direct sunlight) you may need to lower the contrast a little bit and adjust the shadows and highlights, or if it was taken with cool lighting and has blue tones you may need to adjust the temperature of the photo by upping the warmth. We could write a full course on using Adobe Lightroom as there are many many editing features to explore but those are the main adjustments to do when applying a preset, you can also play with some of the other features as you become more familiar with the app.
STEP 3: ORGANIZE
The sheer number of photos on our phones can be overwhelming. That is why we recommend creating an album titled "to print" so when you go to upload your photos for printing it's not as time consuming scrolling through your camera roll looking for the ones you selected (it also makes it less likely that you will miss a photo in the process!).