Tips For Taking Birth Photos
BRIANNA MURRAY
March 15, 2023
Tips for Taking Birth Photos at the Hospital
Welcoming a new child into your family is such an important moment during your family’s story, it is something you want to capture to help you remember that all important day.
Talk to your doctor or midwife before you start taking photos to make sure you have permission. Also choose the right time, usually the first few hours after birth are the perfect time to capture those first precious moments.
“Birth is an emotional experience, and capturing these emotions can help you remember the day better.”
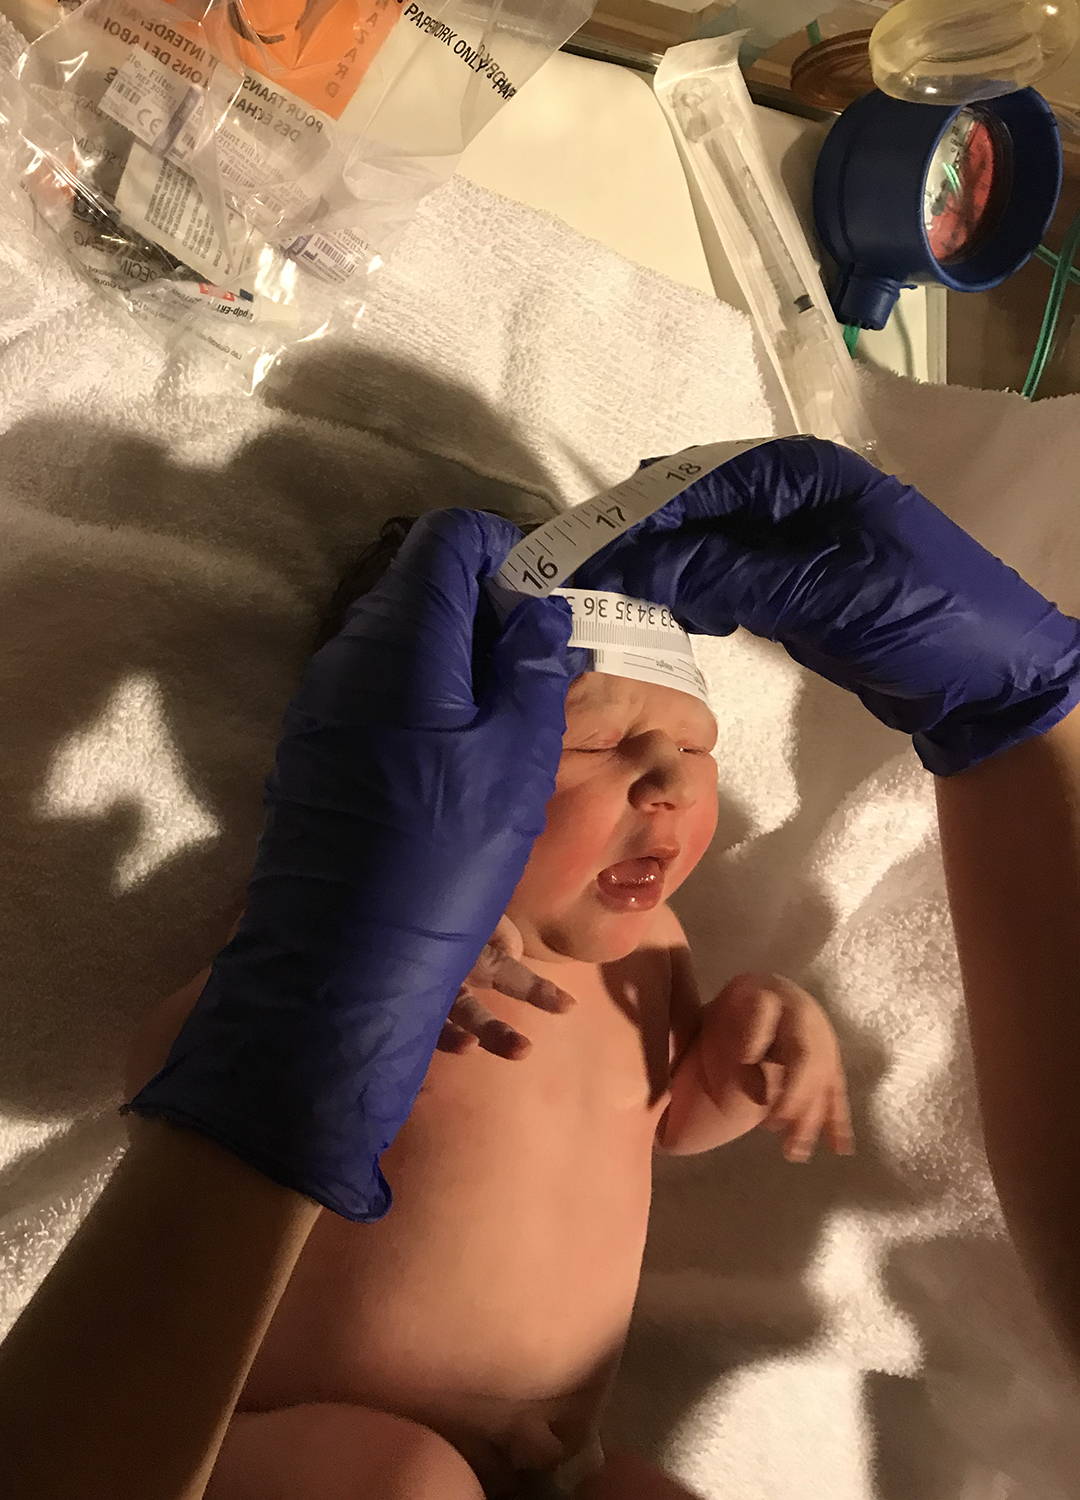
Capture Details & Take Candid Shots
Capture the details: Don't be afraid to take close-ups of baby's tiny fingers, toes, and nose. Also of them being weighed and measured.
Take Candid Shots: Right after birth is the perfect time to take candid shots of you, your partner, and family members holding the baby for the first time. Birth is an emotional experience, and capturing these emotions can help you remember the day better.
Consider Hiring a professional: if you want the full birth documented I would recommend hiring a birth photographer (this is a big investment, think = to a wedding day and for good reason! They are on call 24/7 and labours can be very long). Otherwise I recommend giving your partner the all important task of capturing some photos, depending on your partner it is best to keep your expectations in check.
Editing Your Photos:
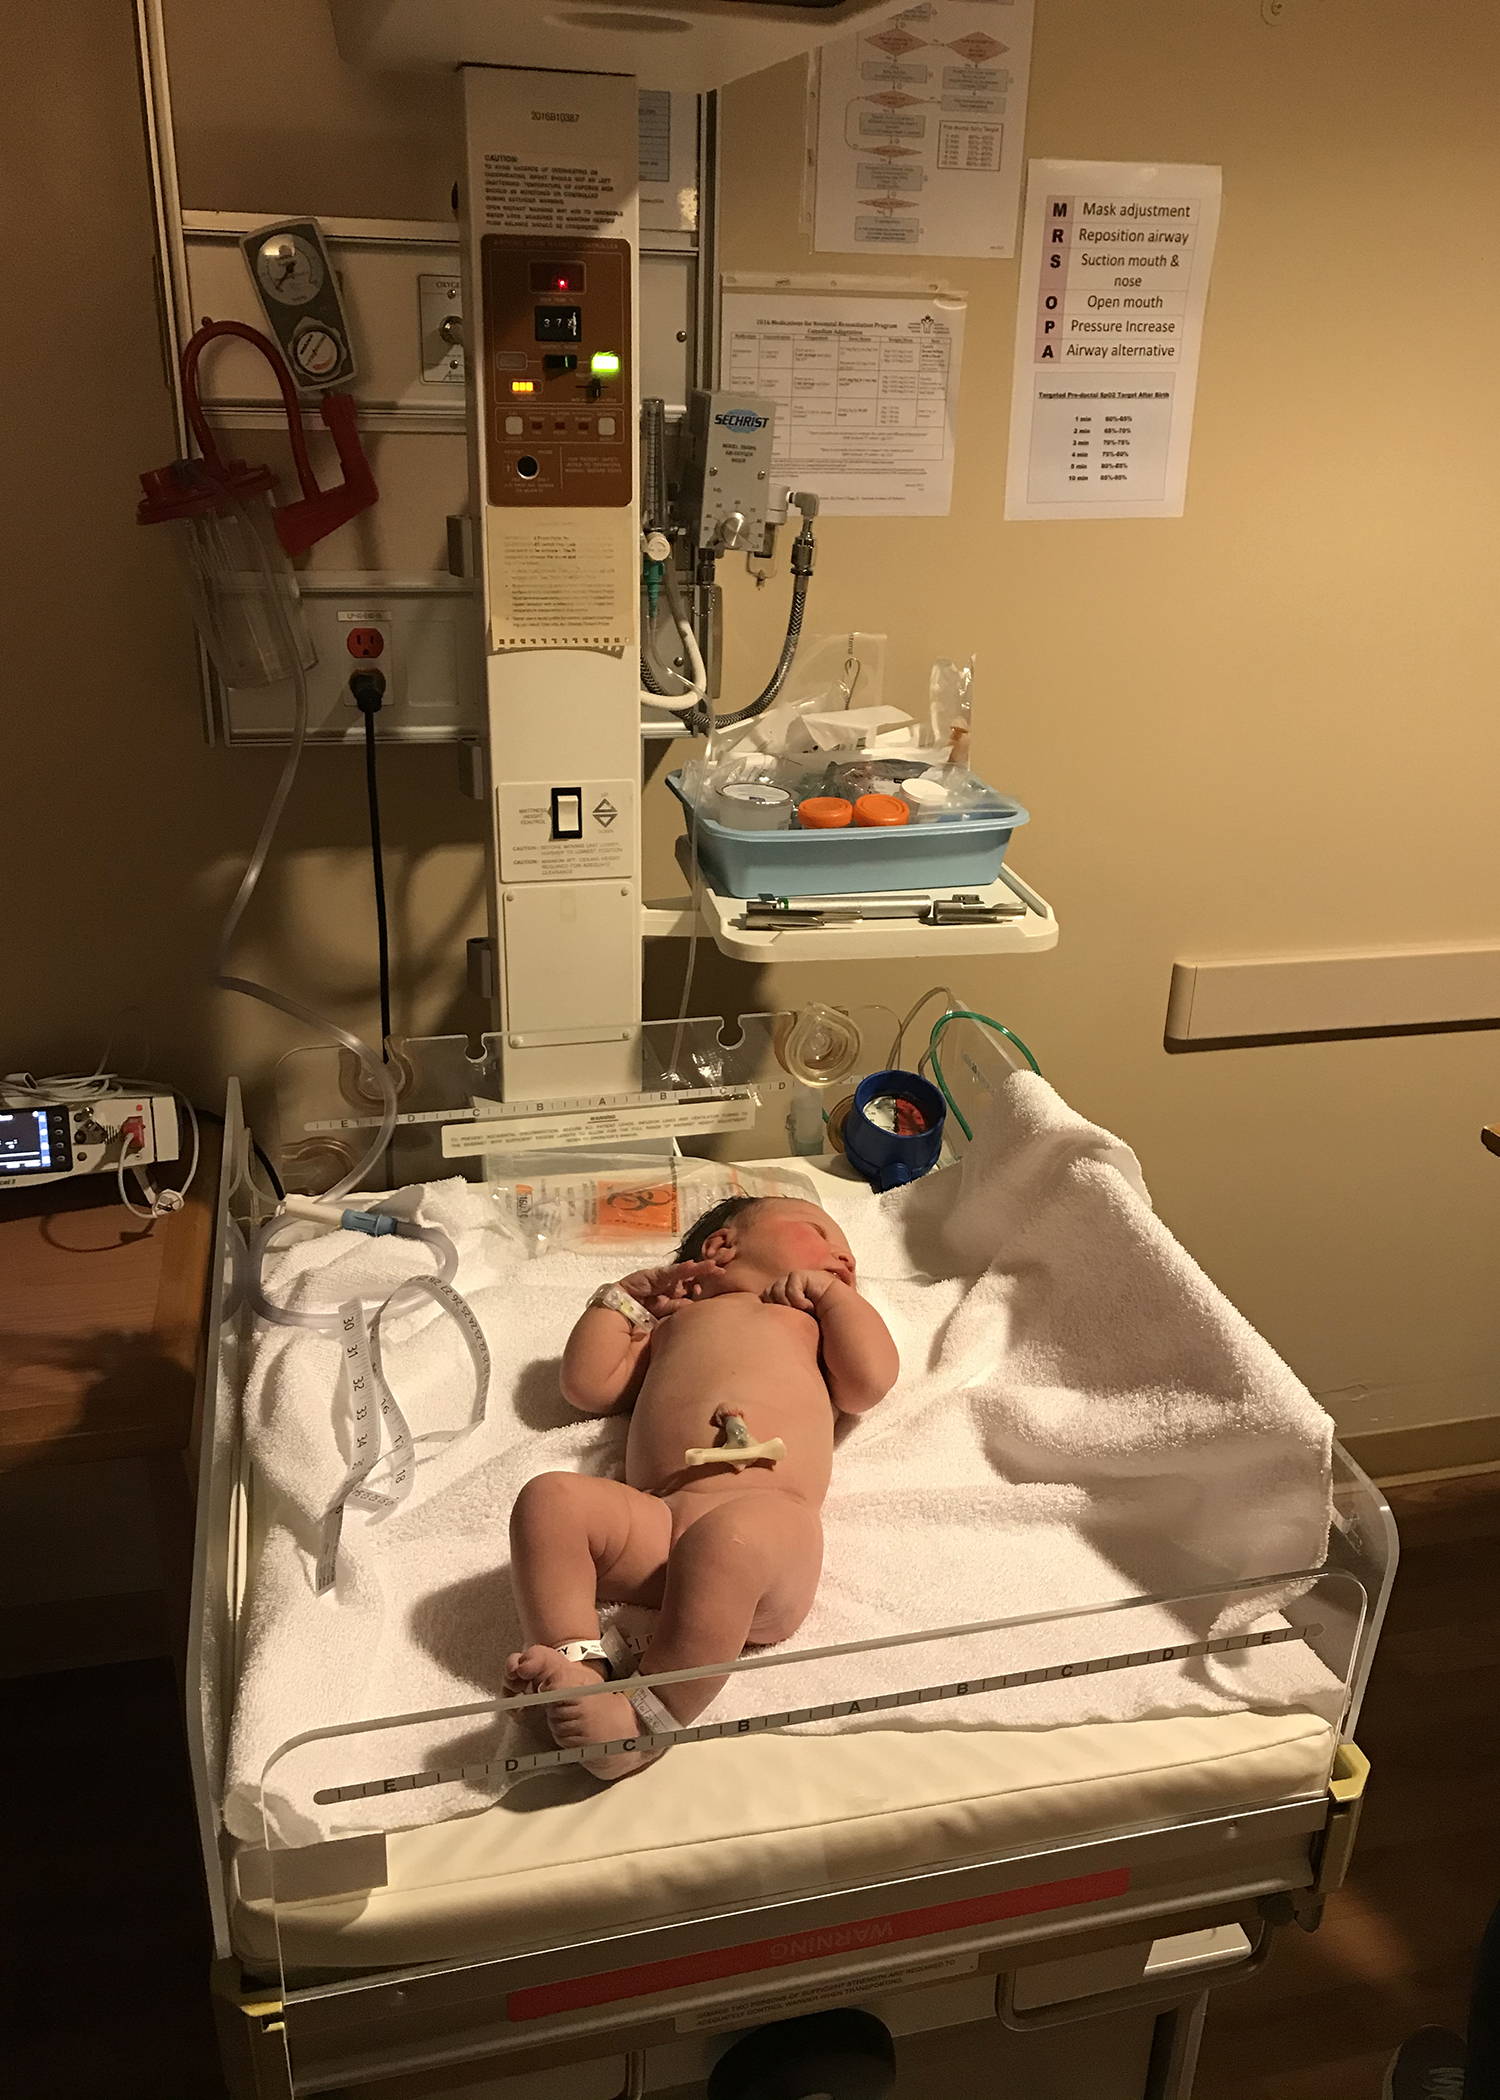
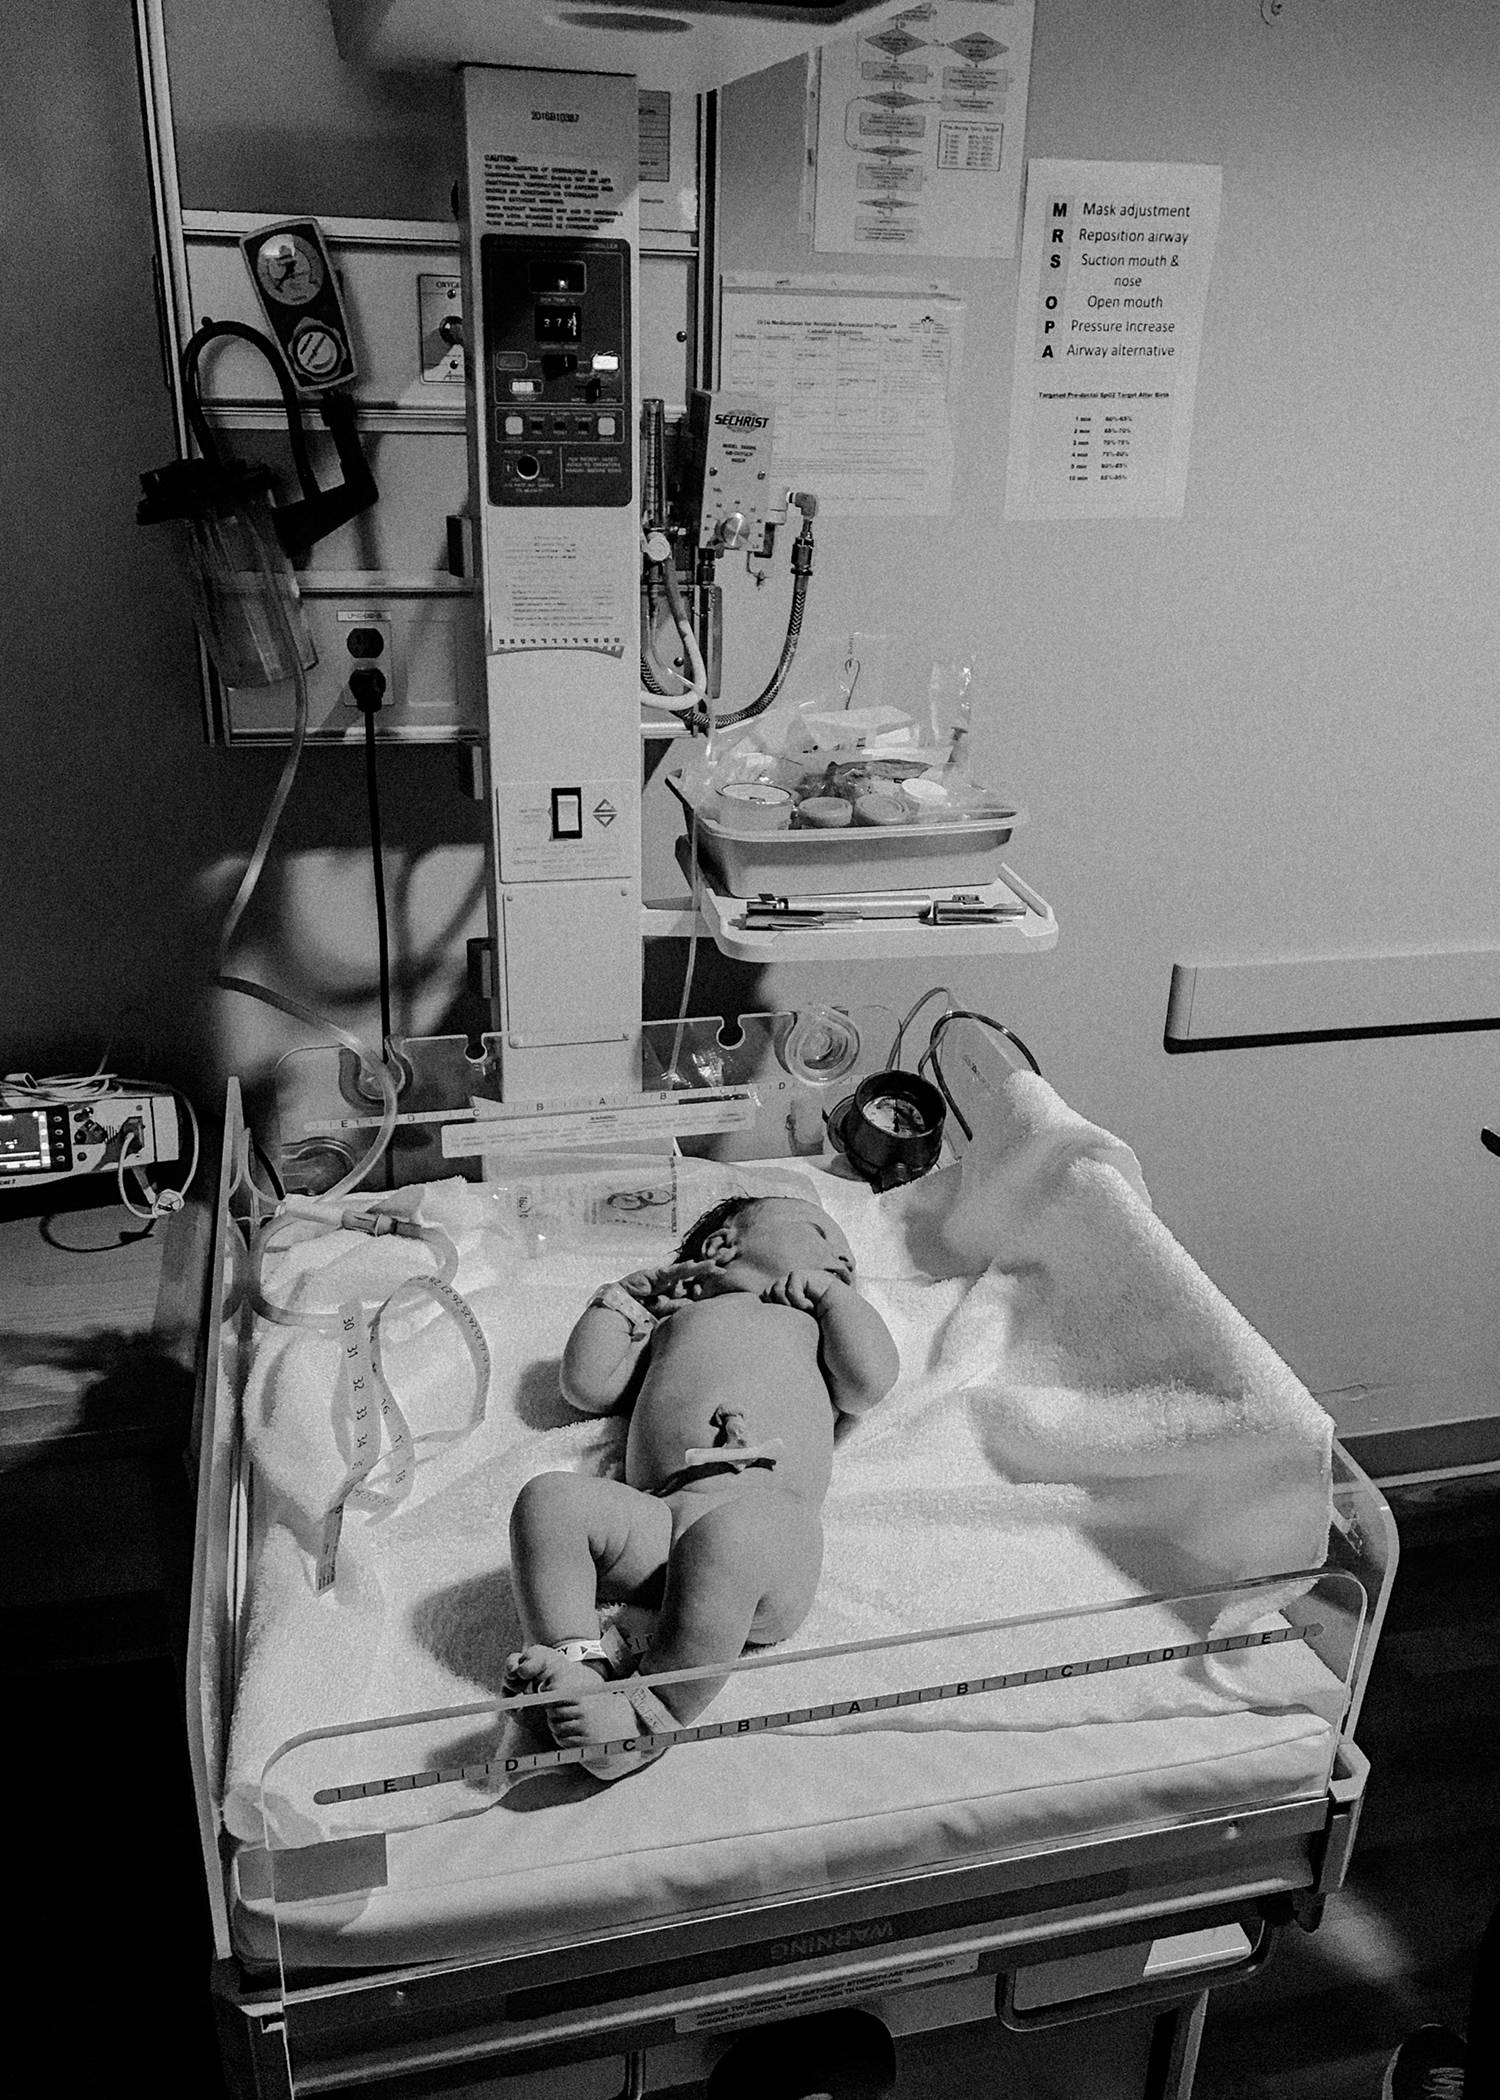
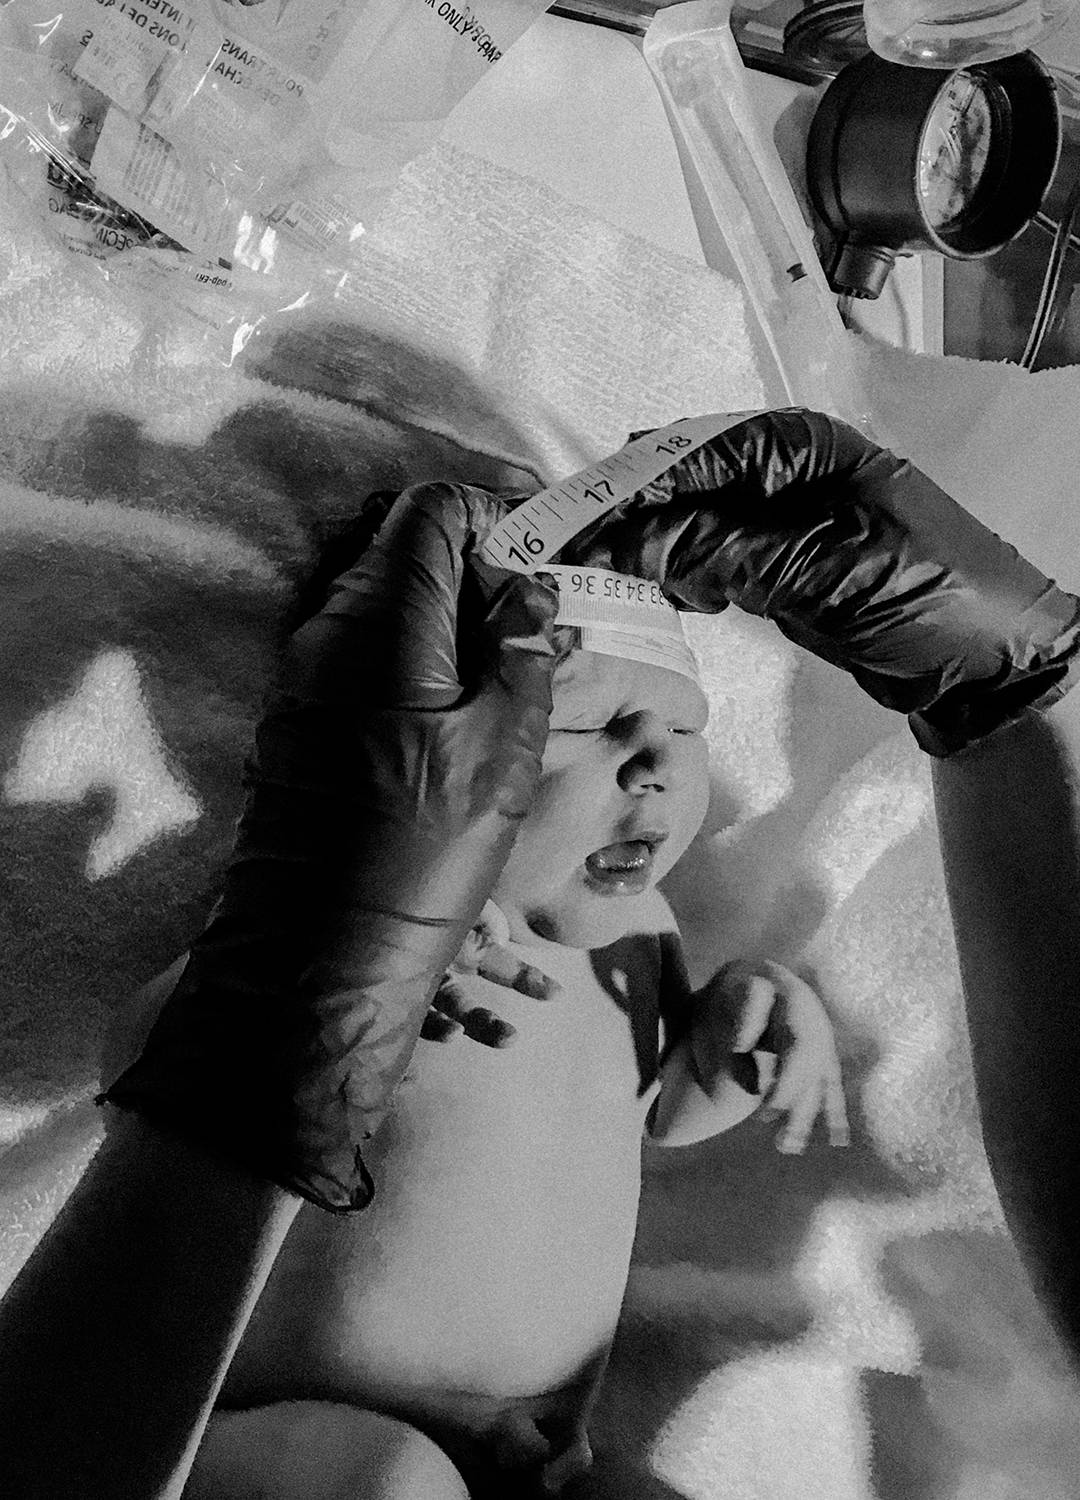
My biggest tip comes when it is time to edit the pictures. There are a lot of interesting colours going on during birth, baby is swollen, and if you like colours coordinating you aren’t going to get that with hospital decor, plus the lighting is most likely awful. So my recommendation is to edit your birth photos in black & white, just by doing so you are going to give them an easy elevated and artistic feel.
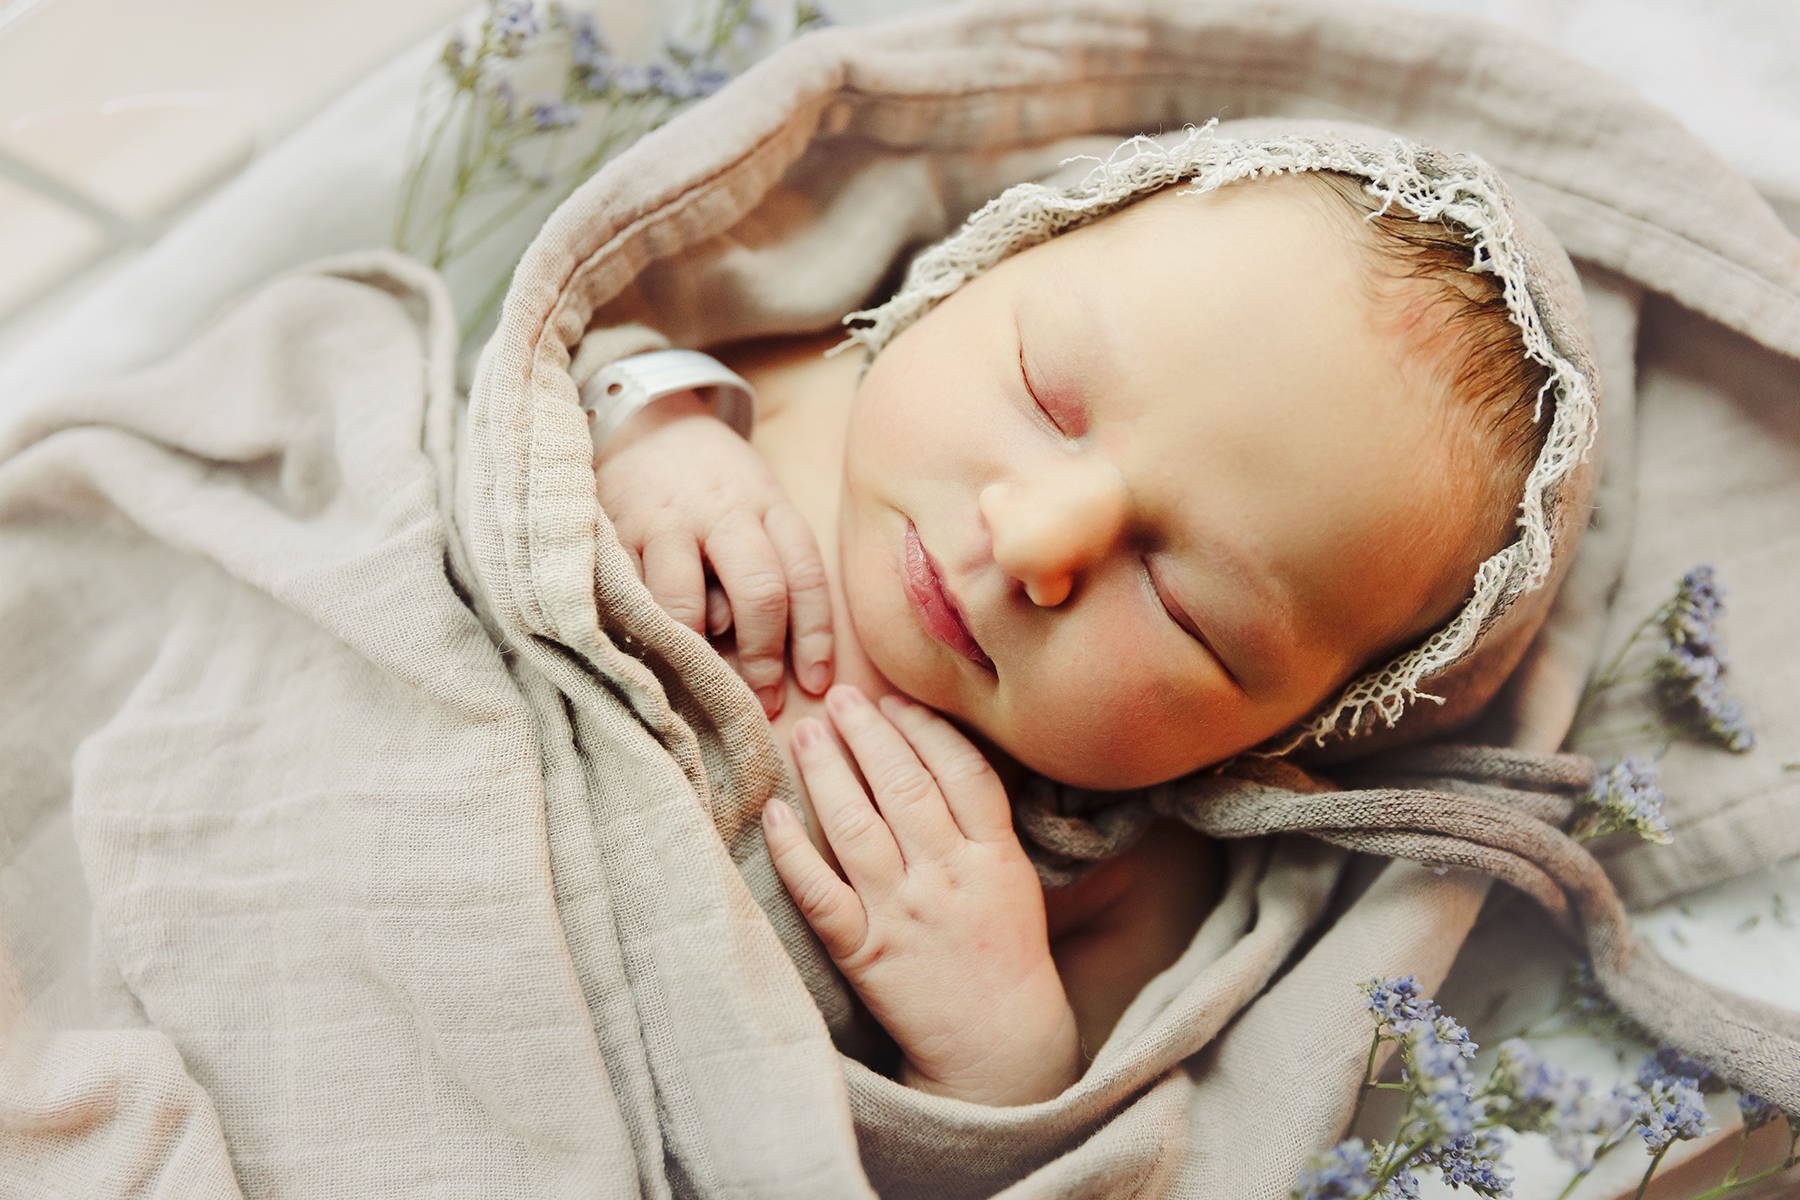
The Birth Announcement Photo
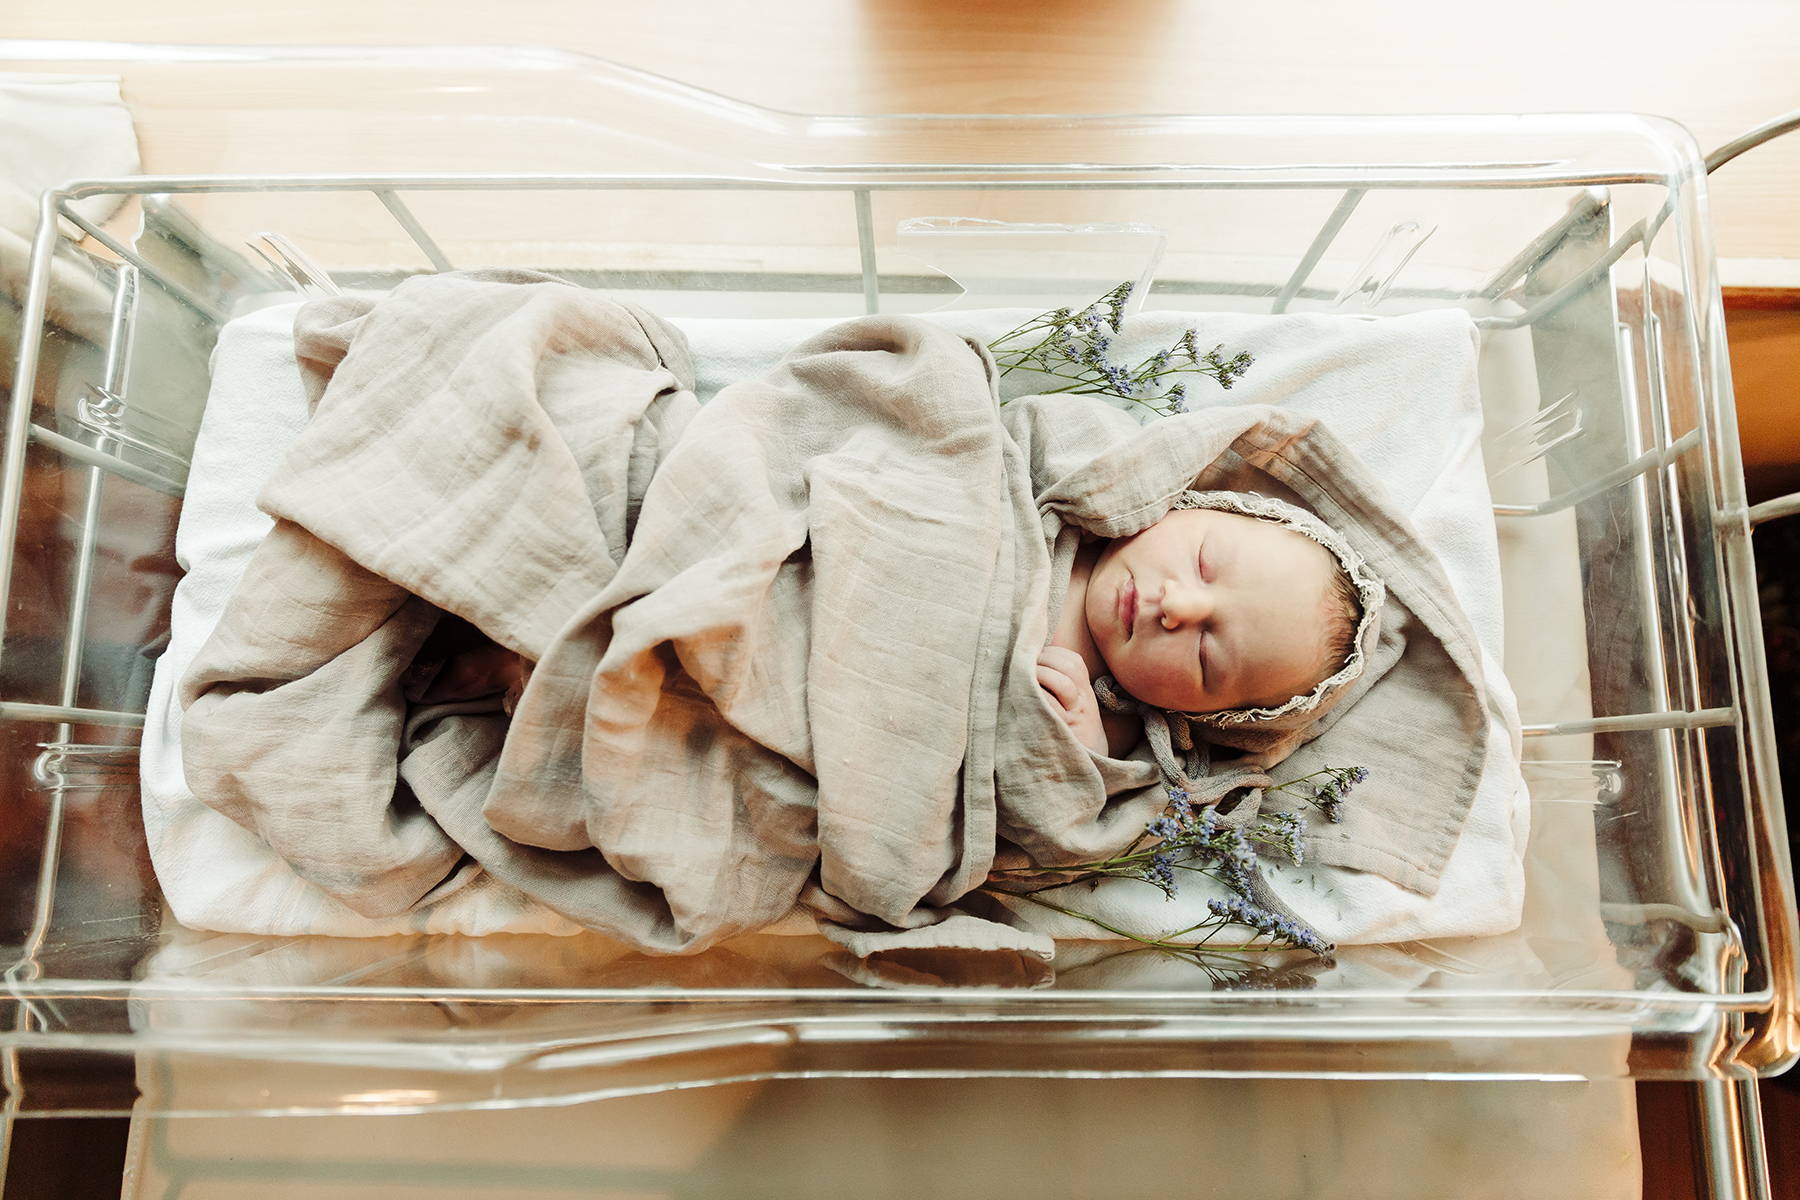
The hospital birth announcement photo is a trending thing! Moms pack the perfect wrap or outfit and little accessories. This was a must capture for me. Of course the day we were supposed to leave the hospital it was a crazy snowstorm outside and my husband was antsy to get going. Luckily we had to wait on some tests otherwise I’m not sure there would have been time to capture these photos but I’m so glad I did as they are some of my favourite photos from the newborn phase.
Step 1: Find the light
The best thing to do is to wheel the bassinet over to a window, this will provide you with better lighting. Make sure this lighting is softly hitting the side of baby’s face (if the lighting is too harsh due to direct sunlight you may need to draw a sheer curtain over the window or find an area with softer light).
Step 2: Watch for piggy noses
When you go to take the picture make sure you are shooting down babies nose, otherwise you are going to end up with a piggy nose. Ways to avoid this is to shoot from directly above or taking a small rolled up onsie or wrap and place under babies head to prop up slightly. You don’t want to prop baby’s head up to much as you want to protect their airway (think of their airway like a straw that might kink).
Step 3: Capture the details
Most people capture baby in the bassinet but don’t forget the close ups of baby’s toes and hands, getting a photo of the birth details that were written down, and those cute little bracelets on their hands and feet.
Step 4: Editing
If you are familiar with the Lightroom App and have a preset you love this can be the easiest way to give your photos more style and flare. Although there are a lot of important things to know when taking photos (if you do it right most photographers pictures look the same straight out of camera) it is during editing that ones artistic stamp is added. Just by lifting the shadows and brighting skin tones you will have a photo that will print much nicer.